Skip to main content
952.567.7151
701 Xenia Ave S, Suite 450
Golden Valley, MN 55416
Shop
Home
About
Meet Dr. Prischmann
Our Team
Amy Nelson – Advanced Practice Esthetician
Annemarie Munasinghe – Advanced Practice Esthetician
Aabreana Prischmann – Patient Care Coordinator
Hannah Baldinger – Office Manager
Sarah Schell – Front Desk Coordinator
Our Location
Financing
Dr. Prischmann’s Blog
Surgical Procedures
Facelift
Neck Lift
Upper Eyelid Blepharoplasty Surgery
Otoplasty
Surgical Lip Lift
Reconstruction After Skin Cancer Removal
Chin Implant
Neck Liposuction
Earlobe Surgery
Reconstructive Surgery
Non-Surgical Treatments
Wrinkle Treatments
Skin Discoloration Treatments
BBL HERO™
Forever Clear BBL™
SkinTyte™
DiamondGlow™
HALO™ Hybrid Laser
Broadband Light (BBL Treatments)
Sciton MOXI™ Laser
BOTOX
®
Cosmetic
Daxxify
Dysport
®
Dermal Fillers
Laser Skin Resurfacing
Chemical Peels
VI Peel
Injectable Lip Augmentation
KYBELLA
®
Dermaplaning
Laser Hair Reduction
Shop
Gallery
Testimonials
Contact
New Patients
Existing Patients
Skin Care Store
Cosmetic Surgical Procedures Gallery
Home
/
Gallery
/
Cosmetic Surgical Procedures
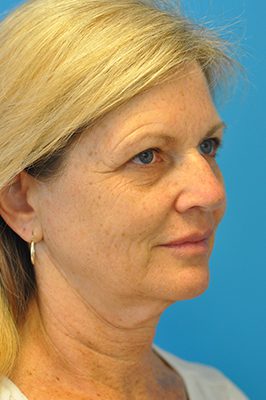
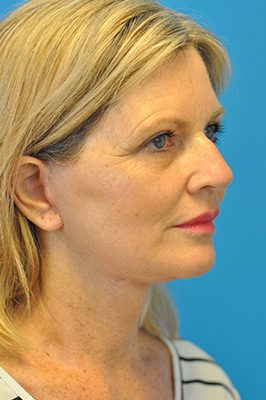
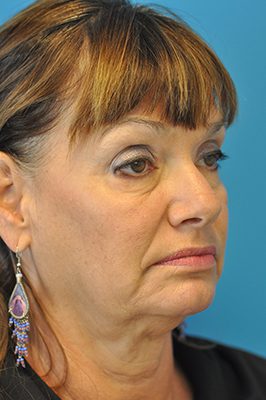
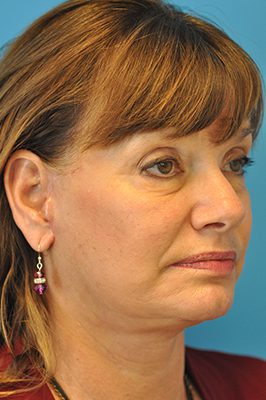
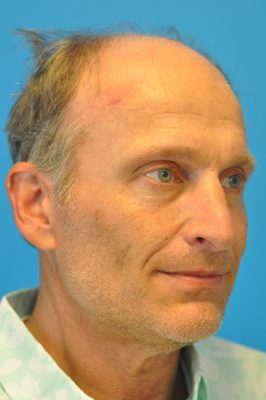
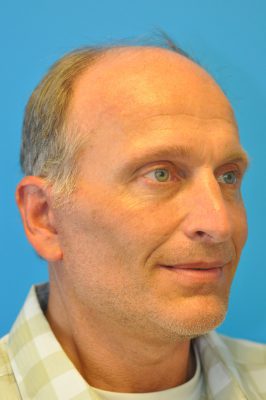
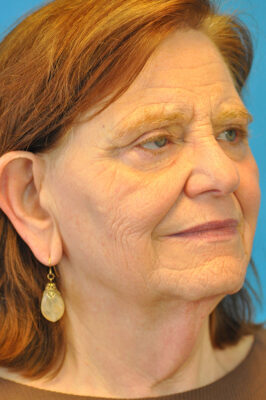
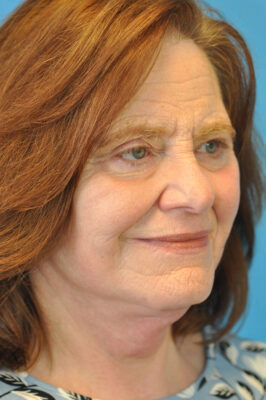
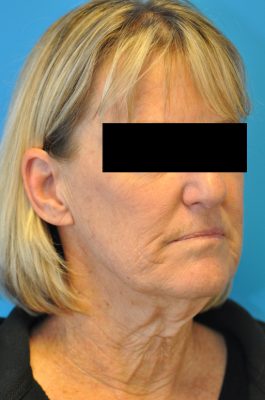
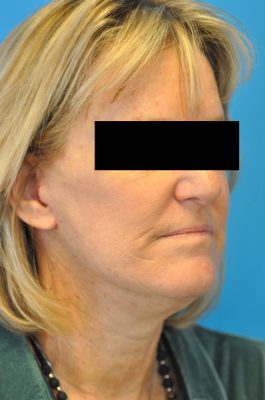
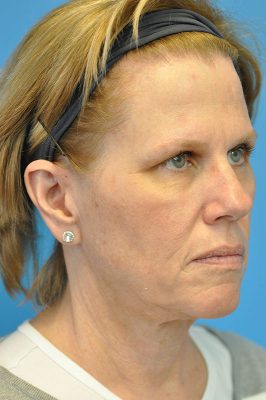
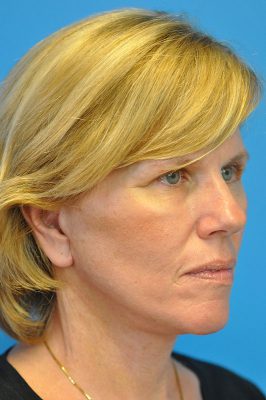
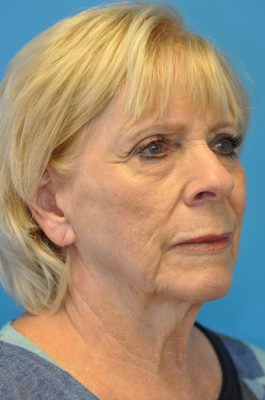
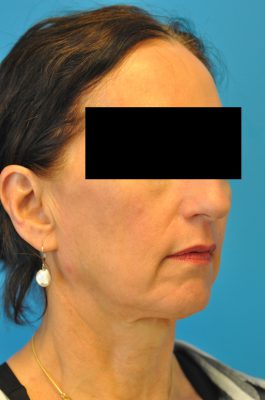
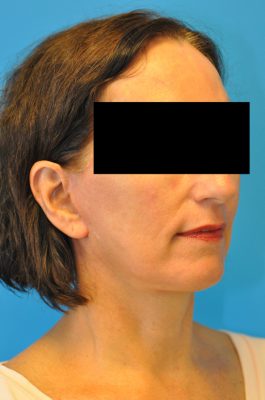
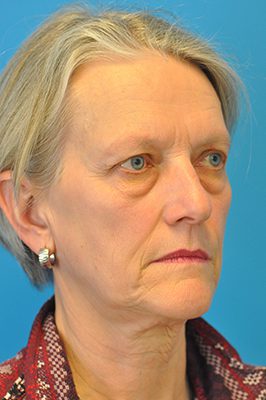
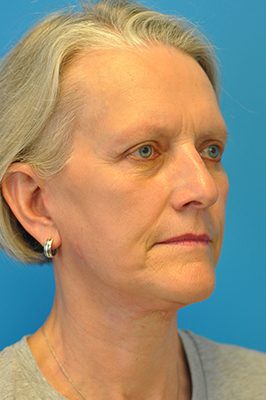
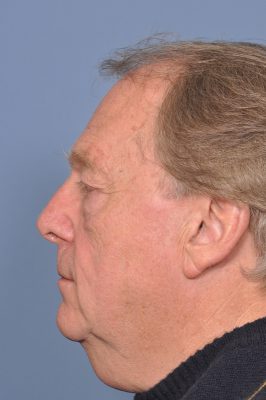
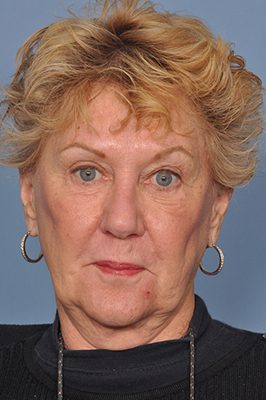
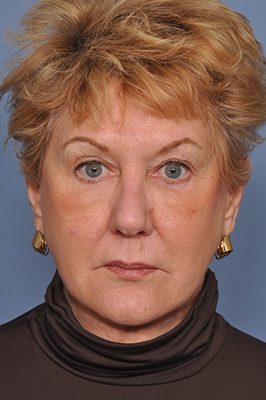
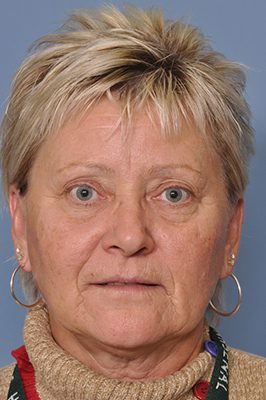
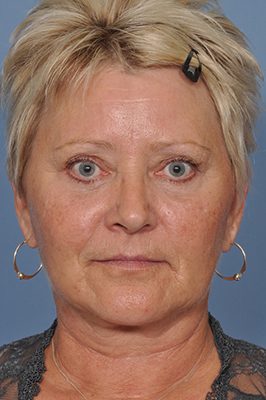
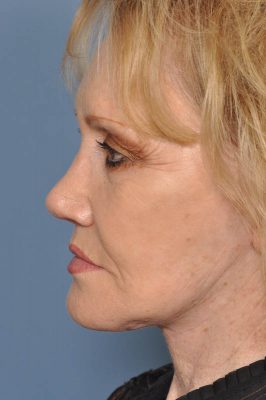
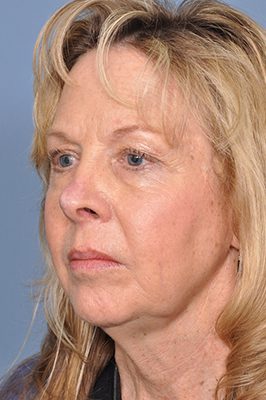
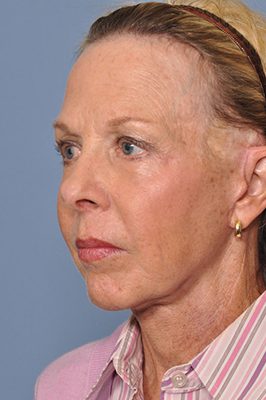
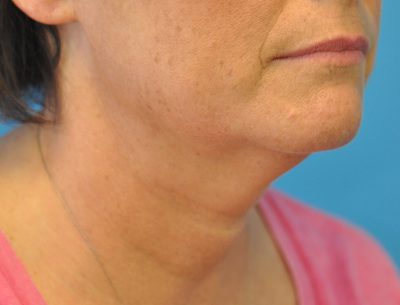
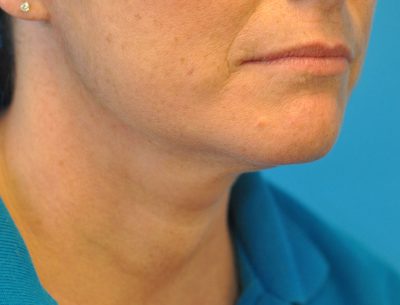
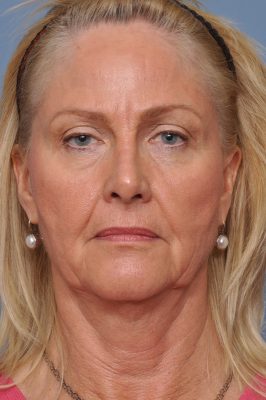
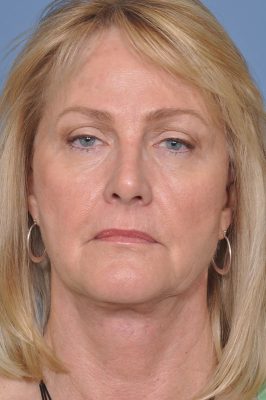
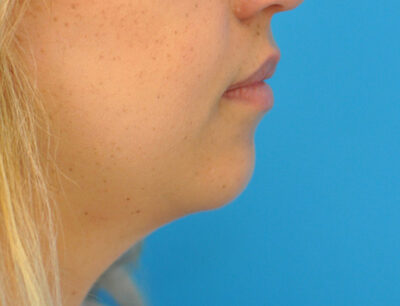
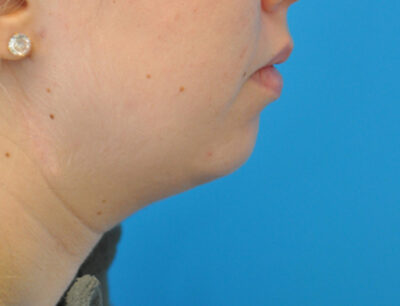
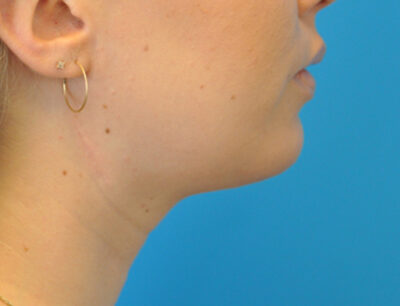
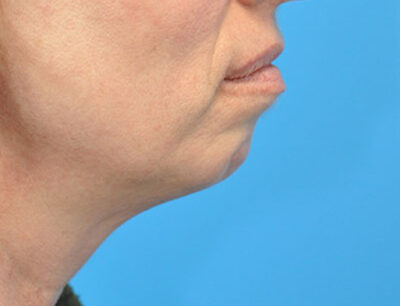
Facelift and Neck Lift
Patient 1
Before
After
Patient 2
Before
After
Patient 3
Before
After
Patient 4
Before
After
Patient 5
Before
After
Patient 6
Before
After
Patient 7
Before
After
Patient 8
Before
After
Patient 9
Before
After
Patient 10
Before
After
Patient 11
Before
After
Patient 12
Before
After
Patient 13
Before
After
Patient 14
Before
After
Patient 15
Before
After
Patient 16
Before
After
Patient 17
Before
After
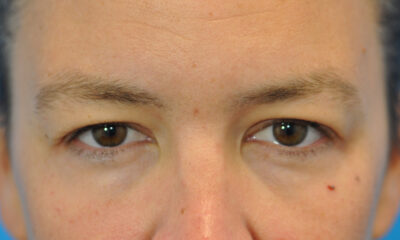
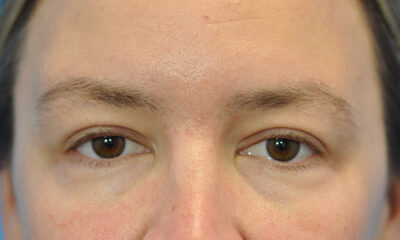
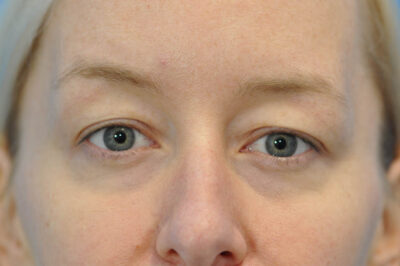
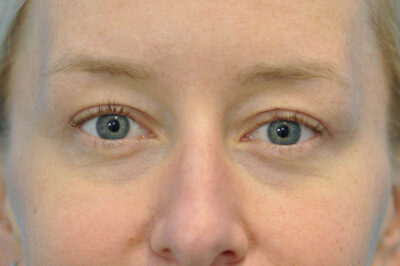
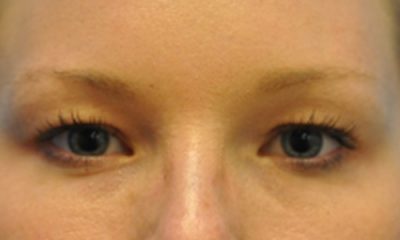
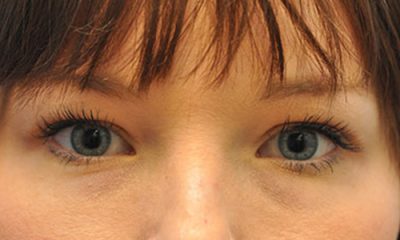
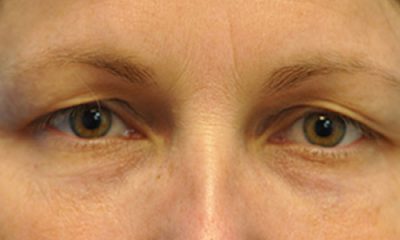
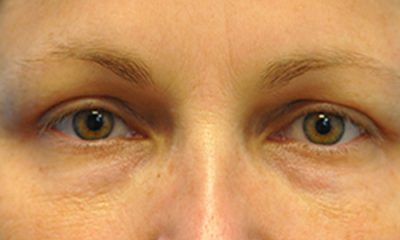
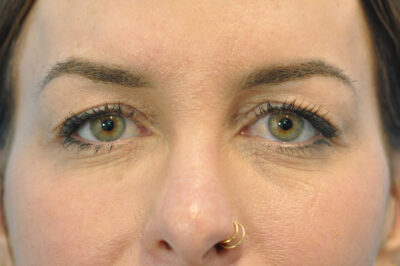
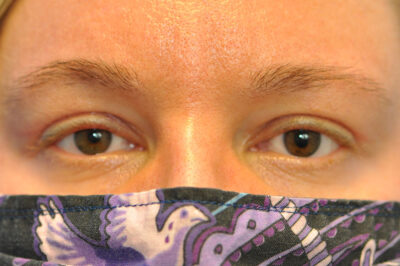
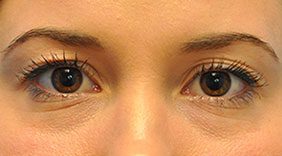
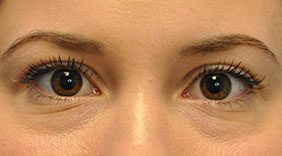
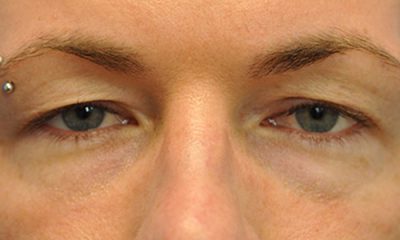
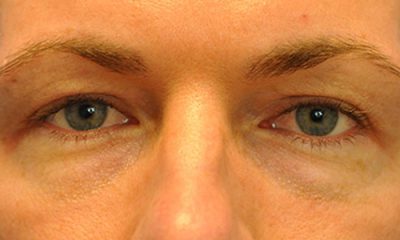
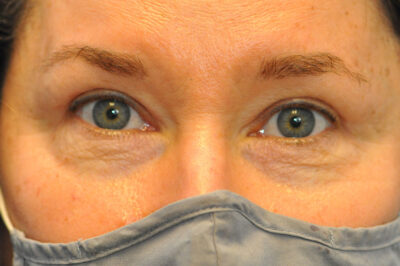
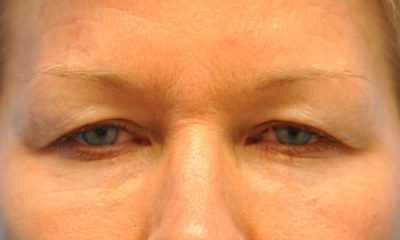
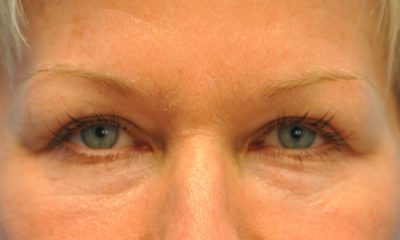
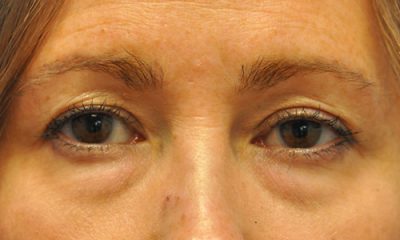
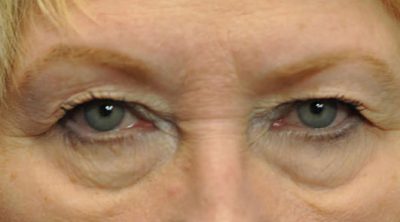
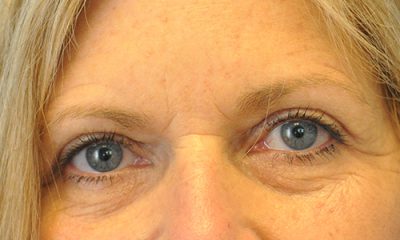
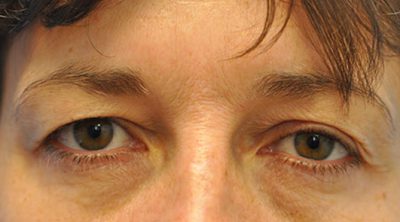
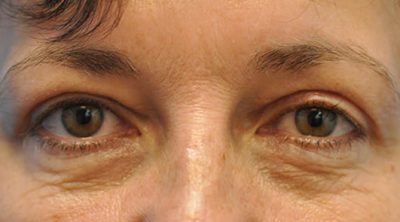
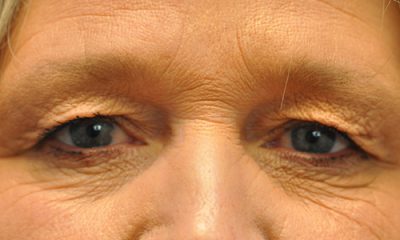
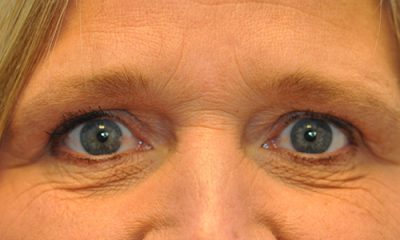
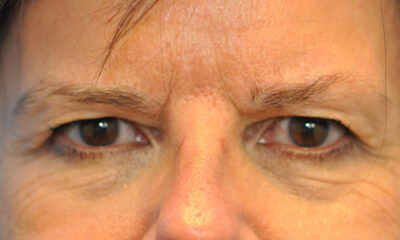
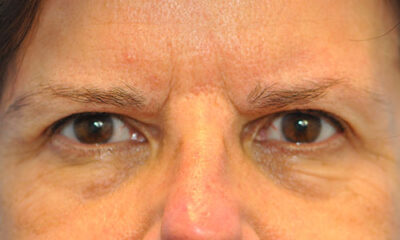
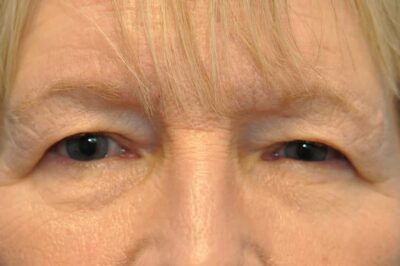
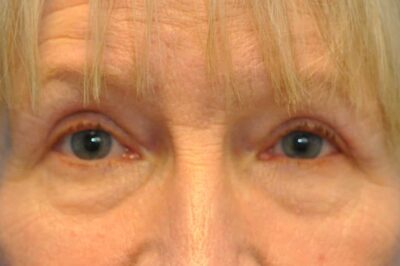
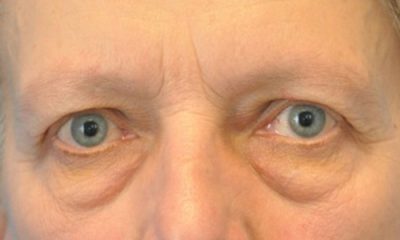
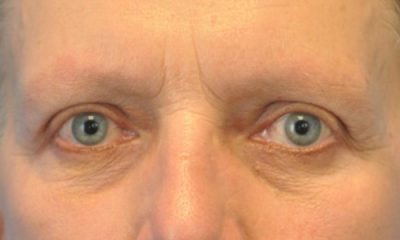
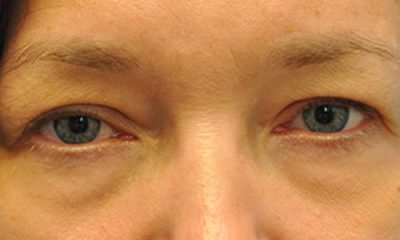
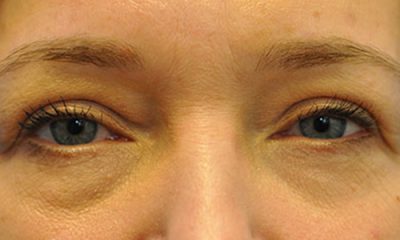
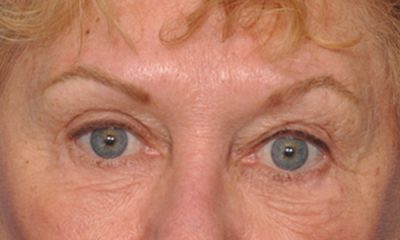
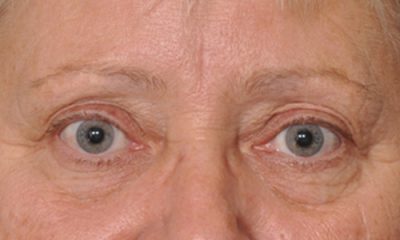
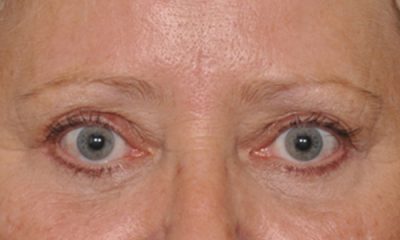
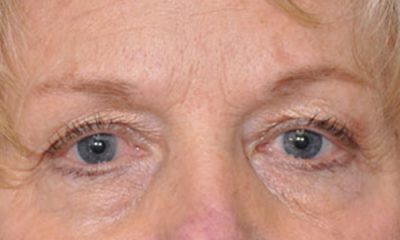
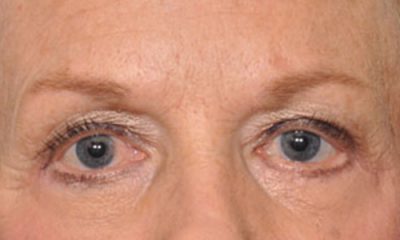
Upper Eyelid Blepharoplasty
Patient 1
Before
After
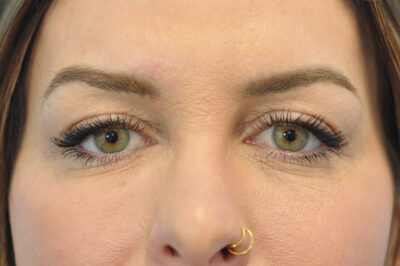
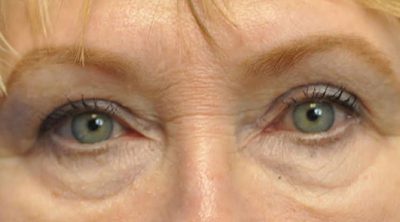
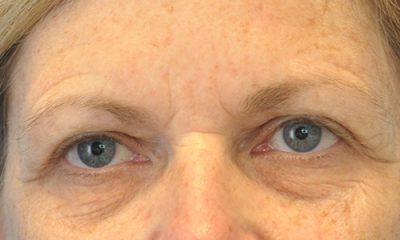
Patient 2
Before
After
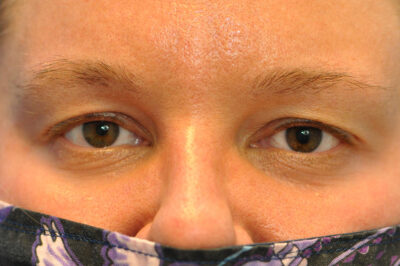
Patient 3
Before
After
Patient 4
Before
After
Patient 5
Before
After
Patient 6
Before
After
Patient 7
Before
After
Patient 8
Before
After
Patient 9
Before
After
Patient 10
Before
After
Patient 11
Before
After
Patient 12
Before
After
Patient 13
Before
After
Patient 14
Before
After
Patient 15
Before
After
Patient 16
Before
After
Patient 17
Before
After
Patient 18
Before
After
Patient 19
Before
After
Patient 20
Before
After
Lower Eyelid Blepharoplasty
Patient 1
Before
After
Patient 2
Before
After
Patient 3
Before
After
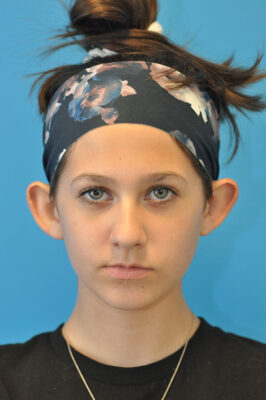
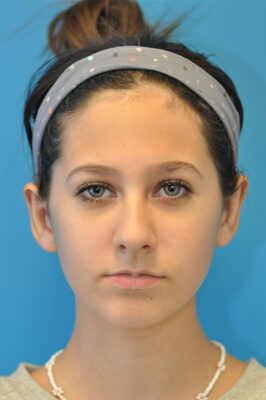
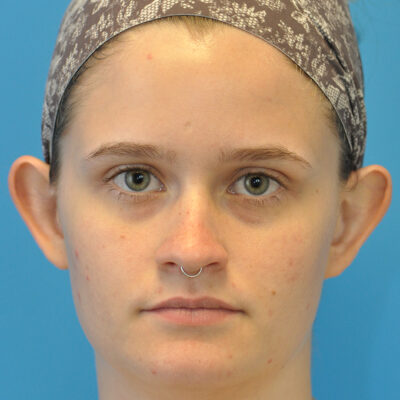
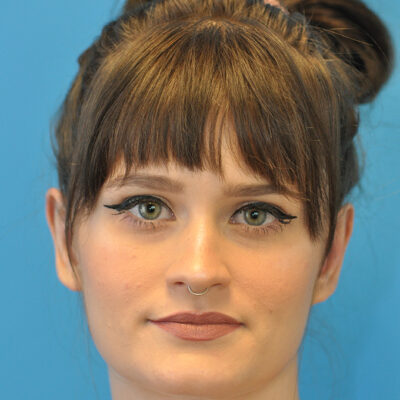
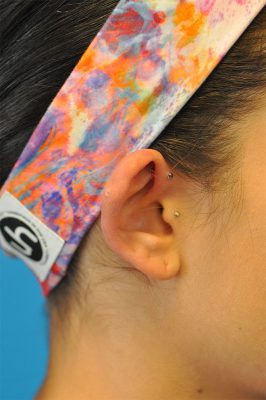
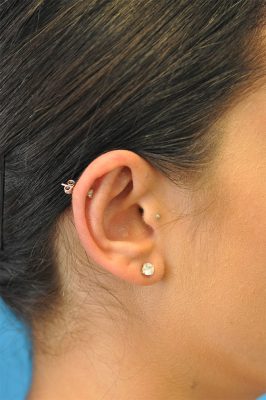
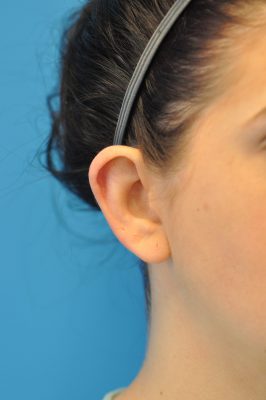
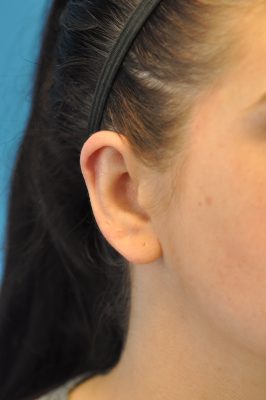
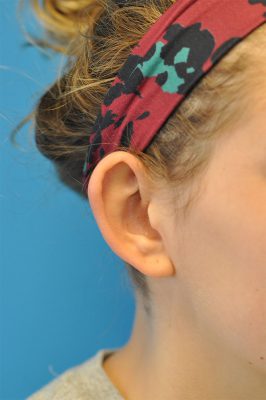
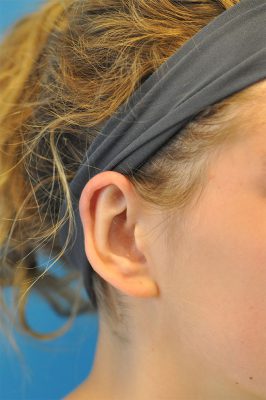
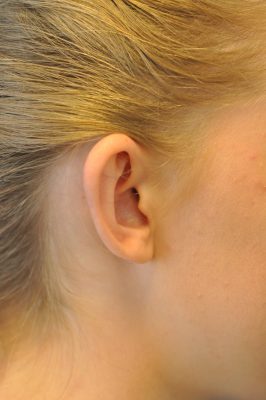
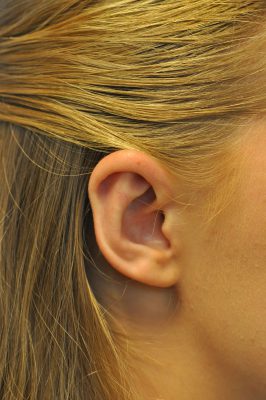
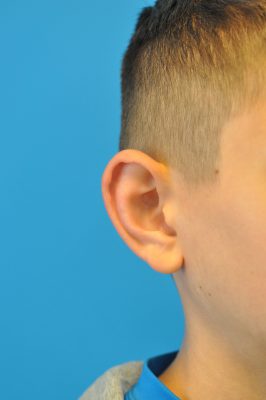
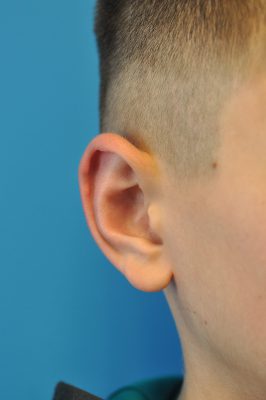
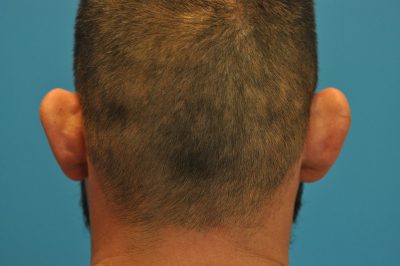
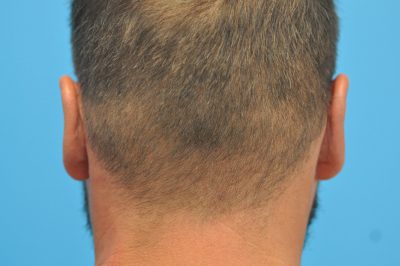
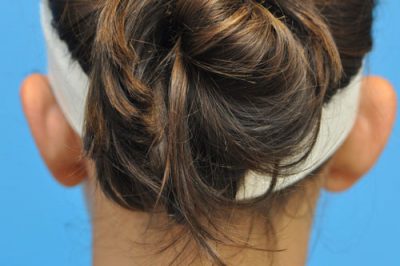
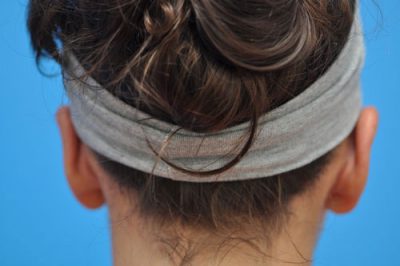
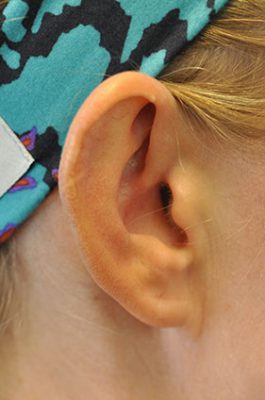
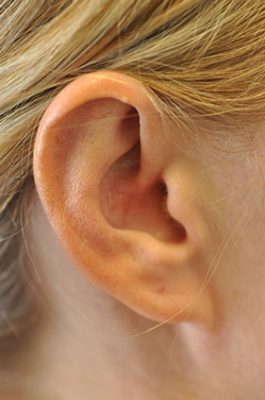
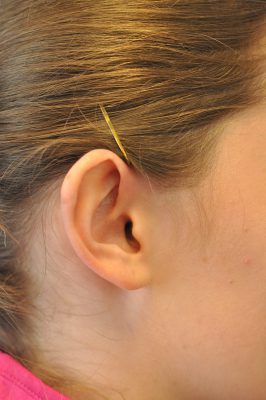
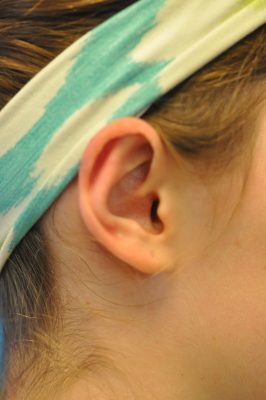
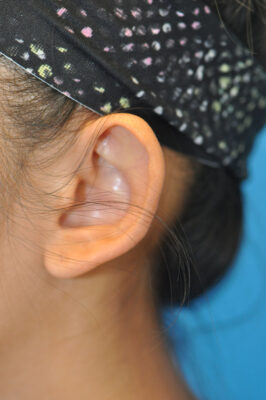
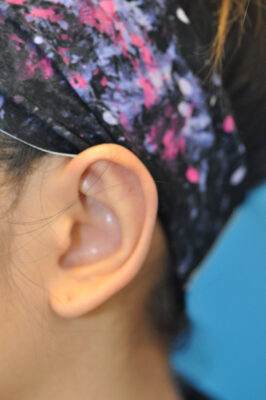
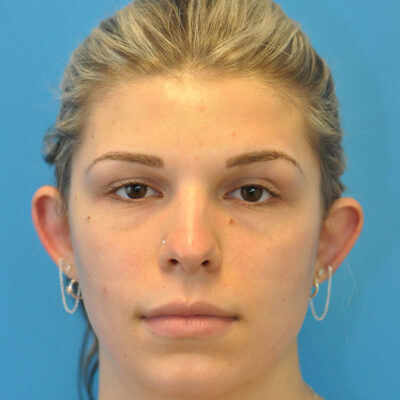
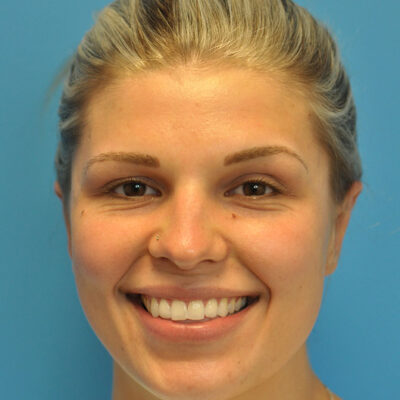
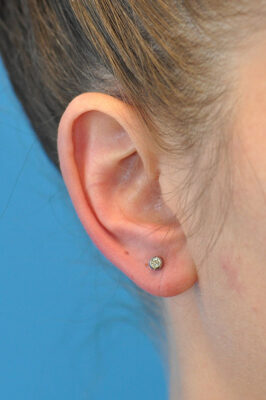
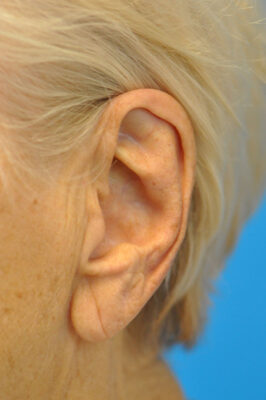
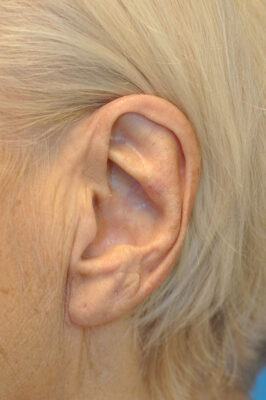
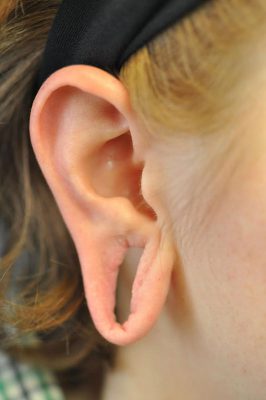
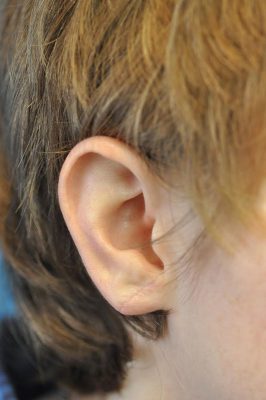
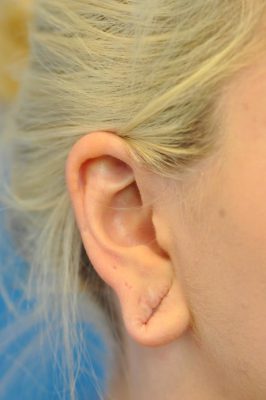
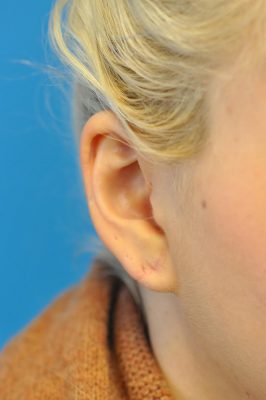
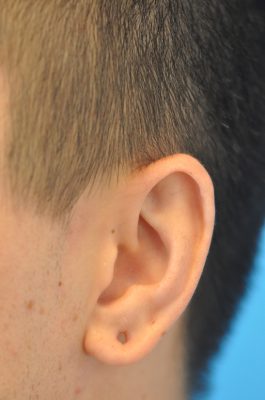
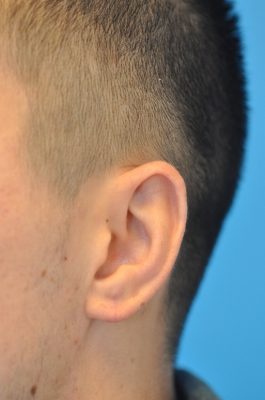
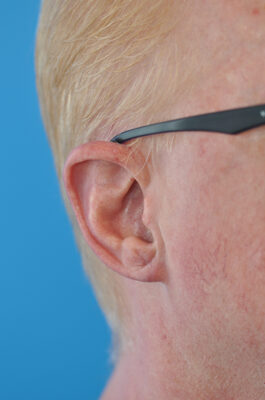
Otoplasty
Patient 1
Before
After
Patient 2
Before
After
Patient 3
Before
After
Patient 4
Before
After
Patient 5
Before
After
Patient 6
Before
After
Patient 7
Before
After
Patient 8
Before
After
Patient 9
Before
After
Patient 10
Before
After
Patient 11
Before
After
Patient 12
Before
After
Patient 13
Before
After
Patient 14
Before
After
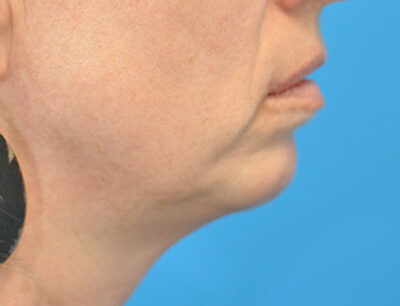
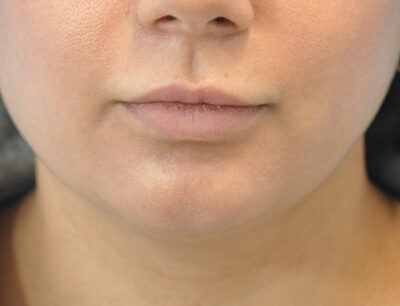
Chin Implant
Patient 1
Before
After
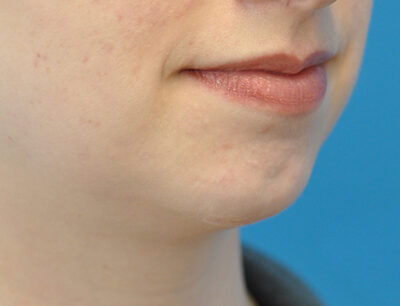
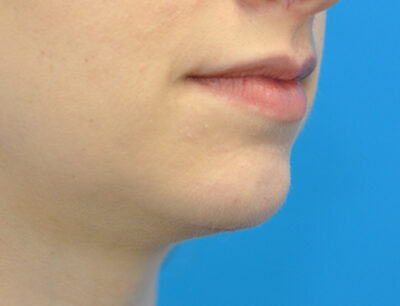
Patient 2
Before
After
Patient 3
Before
After
Patient 4
Before
After
Patient 5
Before
After
Patient 6
Before
After
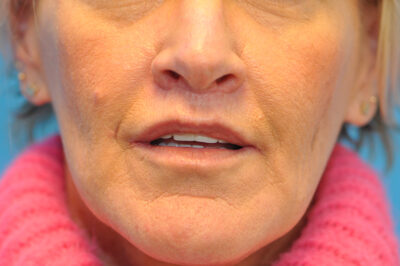
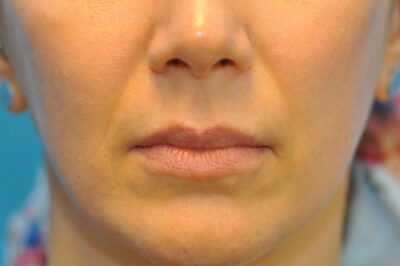
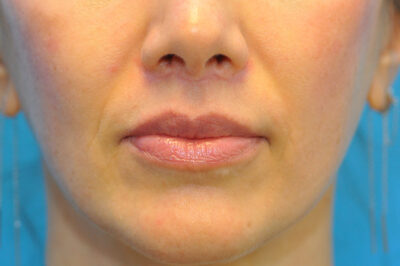
Surgical Lip Lift
Patient 1
Before
After
Patient 2
Before
After
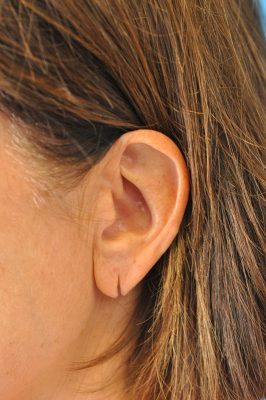
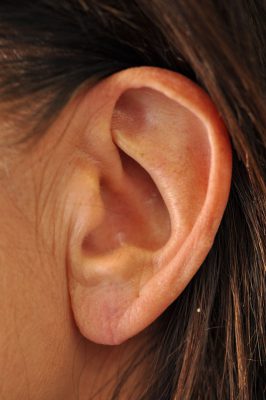
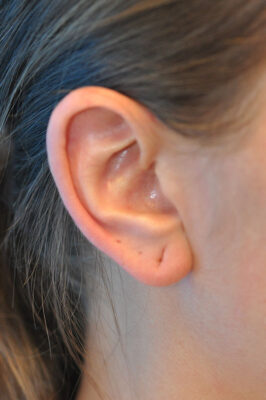
Earlobe Repair
Patient 1
Before
After
Patient 2
Before
After
Patient 3
Before
After
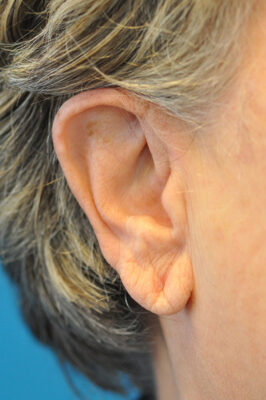
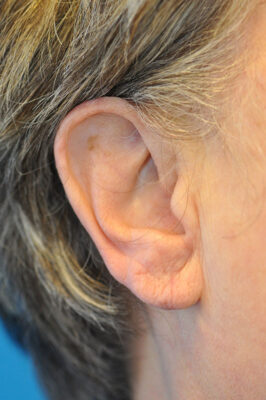
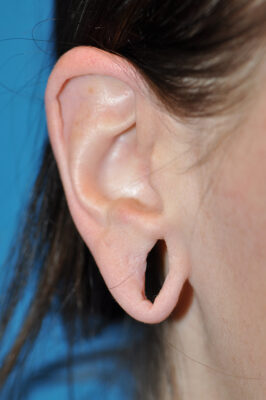
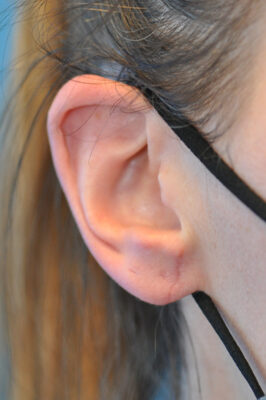
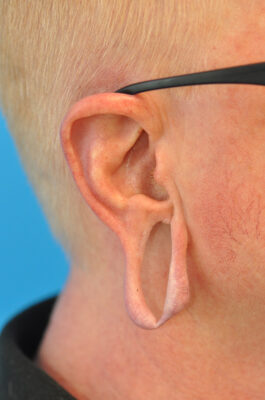
Earlobe Reduction
Patient 1
Before
After
Gauged Earlobe Repair
Patient 1
Before
After
Patient 2
Before
After
Patient 3
Before
After
Patient 4
Before
After
Patient 5
Before
After
Page Updated:
January 8, 2020
New Patients
General Inquiries
Contact Us
Existing Patients
Schedule an Appointment
Contact Us
Skin Care Store
(Local Pickup Available)
Shop Now